
First, I'd love to know who all is sewing with me, so if you are, leave me a comment. . .okay, I really like getting comments too. . .tell me whether you are sewing a shirt or dress, and what size you are making!
Today, we'll trace the pattern and cut out and prepare our fabric pieces.
If your Otto is new, pull the pattern sheets from the center of the magazine and locate pattern sheet B. Spread it out on a flat surface and get your tracing paper (I use pattern-ease) and pen or pencil. The shirt is design #15, so turn to page 31 in your Otto magazine and keep it handy. **If this is your first time making and tracing an Otto pattern, please don't panic or give up--I know it looks intimidating.**
Trace the pattern pieces that are printed in black--there are 8 pattern pieces for this shirt. If you look at the bottom of the pattern sheet and locate the number printed in black for the pattern piece, you can trace a line up the sheet and find the place where the pattern piece is printed. There are also small scale pictures of the pattern pieces in the magazine--I find it helpful to refer to the small pictures when tracing because it is less confusing that way.
I trace my Otto pattern pieces as printed and add seam allowance when cutting. After tracing the pattern pieces, cut them out. Get your fabric ready. You can cut out the shoulder yoke (2), sleeves (4), collar (5), frill (7), and collar binding (8) exactly as they are. Add 3/8-inch seam allowance to every piece except for the frill and collar binding--I just estimate it as I cut, but I do use my hem gauge to give myself a visual.
If you are making the shirt, go ahead and cut out your front (1), back (3) and button band (6) pieces as well. If you are making a dress, you will modify them as follows:
Back and Front: The pattern piece for your dress back is cut on the fold. Because there is some fullness built into this pattern with gathers where the front and back attach to the yoke, I don't flare it out much for the dress--just extend the line of the side seam down until it is the length you want your dress to be. (I added some extra length, so I can determine the length at the end after trying it on.)
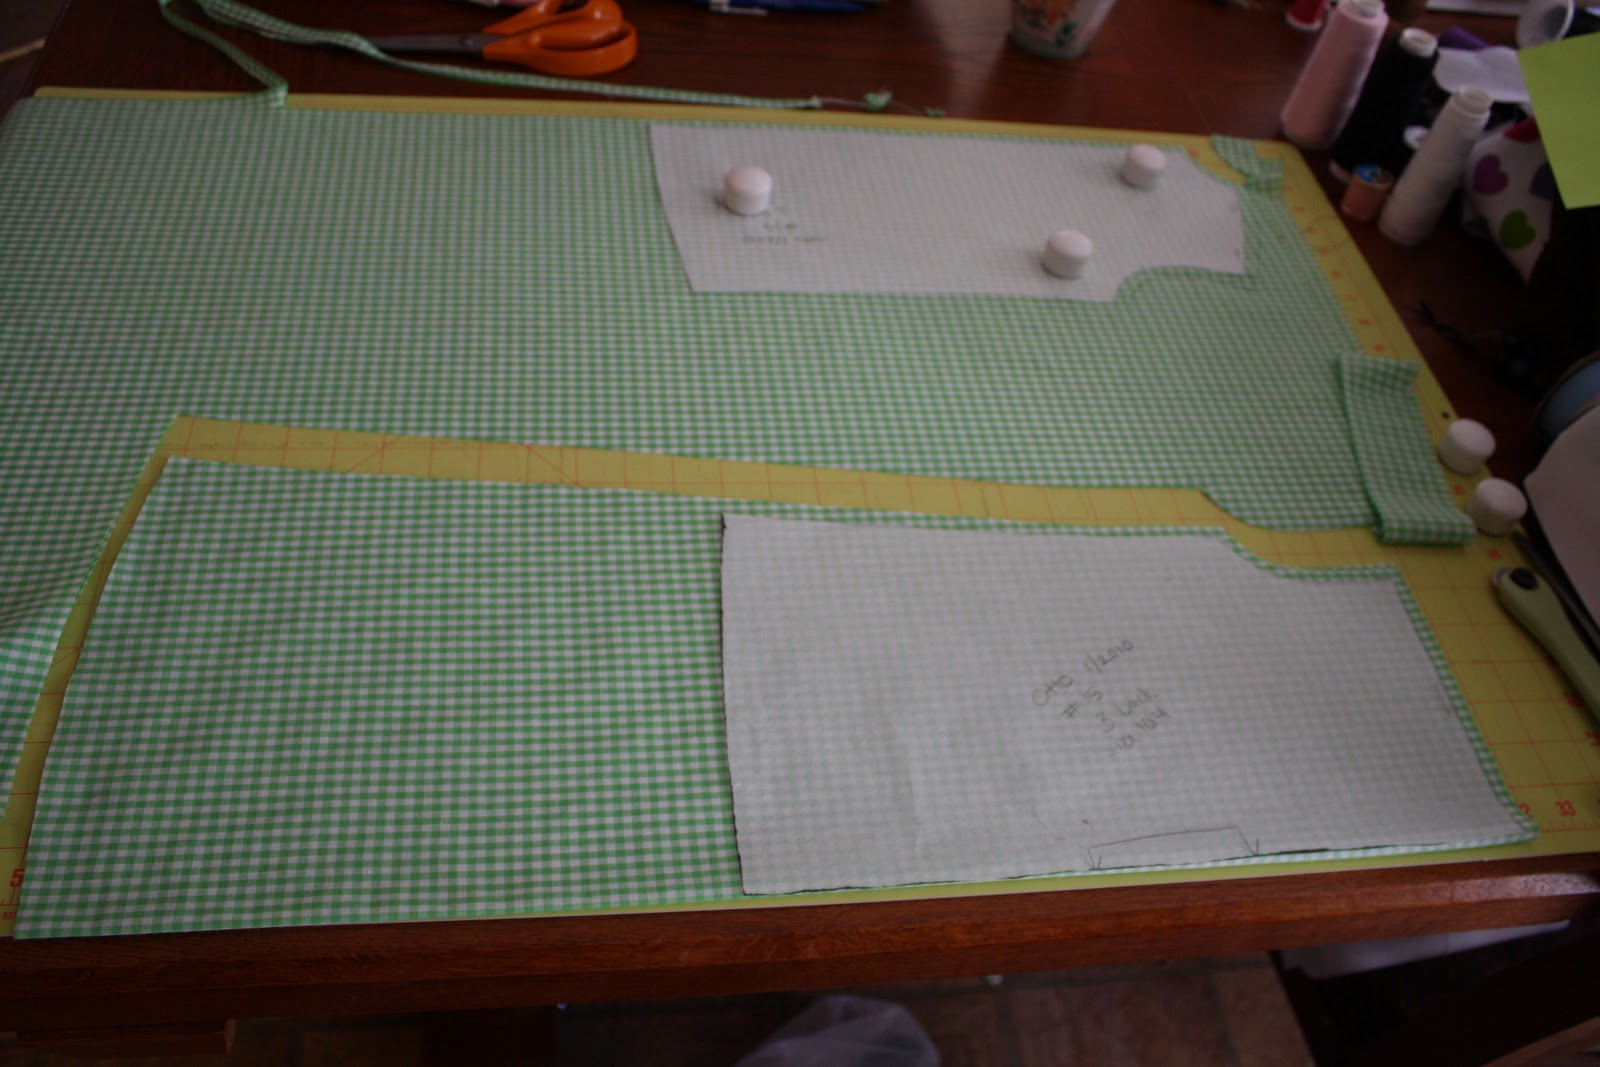
For the front, you will want the side seam and length to match the back, so cut the front piece out around the shoulder and down through the bottom of the armhole. Then, lay the back piece on top of it with the bottom of the armholes matching and cut the side seam, using the back as your pattern.

Button Band: You will add length to your button band, so it is as long as the center front of your front pattern piece. (You can see here that I cut mine slightly longer. You will be able to even everything out before you hem it!)

Okay, all cut out! Now, let's apply the interfacing. You need to interface one of your collar pieces and half of each button band. The parts that should be interfaced are shaded in gray on the small pictures of the pattern pieces on page 31 of your Otto magazine. I used light-weight fusible interfacing.Collar: Fuse interfacing to the wrong side of one collar piece.

Button Bands: Fuse interfacing to the wrong side of both button bands as pictured.
Whew! That's a lot! Take it at your own pace. Tomorrow, we will start putting it all together, which is the best part. If you have any questions, let me know!
Hi! Christephi here. I'm going to be an over-achiever and sew more than one, assembly-line-style, size 92. My fabric is washed, my pattern traced, and I'll be ready to cut out later on today.
ReplyDeleteUnlike you, Sandra, I add 1 cm seam allowance to the pattern pieces before I cut them from my tracing paper. I don't trust myself to remember to add them when I cut my fabric!
I'm going to do a shirt, size 104. Seeing Christephi's comment makes me think maybe I should do 2 since both of my little girls wear the same size. I have my pattern traced and will probably get to cutting my fabric tomorrow afternoon.
ReplyDeleteThank you for doing a sew-a-long Sandra!
Well I was ready, my fabric washed but my magazine hasn't arrived yet. Am hoping it arrives in tomorrow's mail and then I can get started and catch up. I am a little torn between shirt and dress but as we are gearing up here for cold weather, I am thinking I will start with a shirt as my little one will get more wear out of it. Fingers crossed it arrives soon !
ReplyDeleteI just made this shirt, but it's so cute that I love the idea of doing a dress! I can't start tonight, but I plan on starting this week.
ReplyDeleteHi Sandra,
ReplyDeleteI am making a size 104 out of the pattern. I am making the dress part as a circle skirt, though. I took a few pictures along the way (almost finished...whew!), so hopefully I can get them all up. I have a hard time starting a project and leaving it. I have to get it all done at once! :)
I am doing the collar differently. I have made a whole lot of button down shirts over the years, so I have some experience with collars. I have never been a fan of the way Ottobre does them.
Stacy