
I made some more Little Smarty Pants today, so I thought I'd take the time to write a quick review of the pattern. Overall, this is one of my favorite summer patterns. It comes in two lengths--capri and bermuda shorts. I haven't made the capri length yet, but I will soon.
Likes:
- The pattern has plenty of details that give them a more finished look without requiring zippers or buttons.
- The flat-front, elastic-waist style means that there isn't a lot of bulk at the waist.
- I love the bias cut back waistband and the method used to create the cuffs on the bermuda shorts.
- It is a good unisex pattern although I don't have any boys to make them for.
Dislikes:
- The pocket instructions can be quite confusing and call for 2 extra pattern pieces that you really don't need to use unless you want to use a lighter-weight fabric for your pockets. Once I figured out that I don't necessarily need the pocket facings, it all worked out fine though.
- The sizing for children is paired, so any size above a 4 is a combination of two sizes (e.g. 5/6, 7/8). Allie is between sizes at the moment, so this doesn't work as well for me as it could.
That's really the gist of it. The results definitely look like the pattern envelope, and the details give them a ready-to-wear feel that you don't always find in patterns.
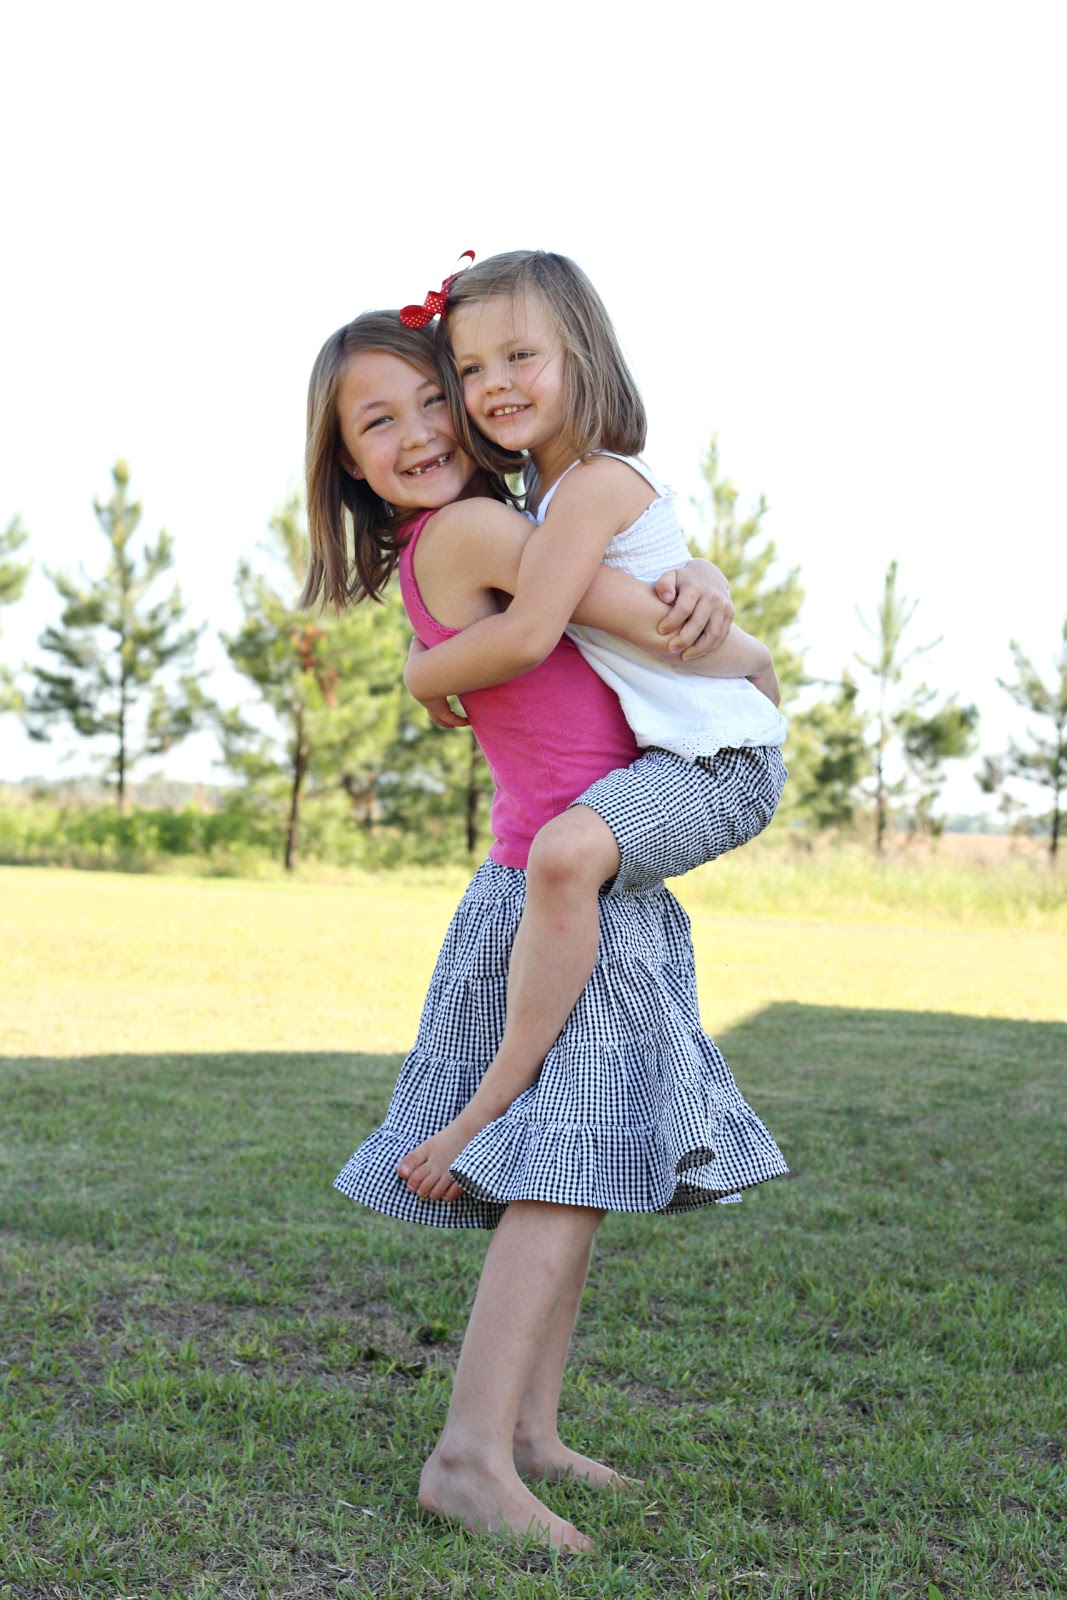
I used my black and white seersucker for these. Jenna's are bermuda length with front and back pockets and cuffs. I didn't do waistband tabs or belt loops. Here are some pictures although the details get a little lost in the gingham. They are a size 4, but are still a little big. . . she will probably grow into them in the next few months!

And another picture just because she's cute! (This is her model pose.)

For Allie, I decided to use the same pattern to make a skort for her. I cut her the bermuda shorts in a size 7/8 and shortened them a little bit, and I didn't cut any pockets or side tabs. I made a simple tiered skirt to go over them and and sewed it to the top of the shorts before attaching the waistband.

I made each tier of the skirt 1 1/2 times bigger than the tier before and gathered it by hand. I definitely should have taken the time to get out my ruffler foot, but I didn't, so I spent a lot of time pulling up bobbin threads! It ended up being very twirly!

I hope you have all had a great weekend!
I love the skirt over the shorts!
ReplyDeleteI am so happy I found this!! I have been having a hard time with the pockets and even sent pics to my sister asking for help. When I bought the pattern you hadn't posted this yet. I tried again tonight and score! So nice to know those 2 pieces are un-needed. I can finally finish a pair I started last year!
ReplyDeleteI'm so glad it helped! It took me forever to figure out what to do with the two pocket facings the first time. I did use them, but then I wondered what the point of them was! I just skip them now.
ReplyDeletekeep going take it all off I want to see your sexy nkd body and lovely hairless c-I-d pu--y
ReplyDelete