Sunday, July 15, 2012

Sunday, July 8, 2012

Practicality Won this time.

I bought the Emmaline Maxi Dress pattern awhile ago when it was on sale, and it has been sitting on my computer ever since.  I came across it in my documents yesterday and decided to give it a go. 

I finished Jenna's today, but practicality won, and I left off the longer bottom ruffle that would have made it floor length.  I can't imagine her getting much (really any) wear out of a floor-length dress.  For real!  It is still maxi length and gorgeous!


I made the pattern as written. . .almost.  Well, who am I kidding?!  I completely changed the construction method.  The pattern has you put together the front bodice and skirt separate from the back bodice and skirt and then put them together at the side seams.  I don't like the finish under the arms this way, so I sandwiched the front bodice between the two layers of the back bodice before sewing it right sides together.  When I turned it, I ended up without any exposed side seams on the bodice at all. 

At any rate, I love the pattern and will make it again.  I have Allie's already cut out of a black and white chevron print.  I think it is going to be beautiful!

Saturday, July 7, 2012

It's a maxi-dress kind of weekend!

I was browsing in blogland last night and came across Katie's post about the Signature Dress pattern from http://www.thetraintocrazy.com/ .  I've been meaning to draft a pattern for a maxi dress for my girls, so when I saw this one, I decided to give it a go. 

At $10 for the pdf pattern, it is a little more expensive than I usually pay for e-patterns, but this thing has TONS of options!  There are several different sleeve options, different pocket options, including in-seam side pockets that I will definitely be doing next, and different waist options.


Oh, and it can also be made in different lengths.  I went with a maxi length dress out of Chez Ami striped cotton lycra.  I decided to do flutter sleeves and the elasticized waist option.


Jenna measures in between the charted measurements for the size 5 and the size 6/6X.  I want her to be able to wear it awhile, so I made the size 6/6X.  I need to tighten up the elastic at the waist on this one. 

Next up is another maxi dress, this time in a woven.  The fabric is pre-washing in the machine!

Wednesday, July 4, 2012

Happy Independance Day!

Wow!  It has been a long time, hasn't it?  I've been sewing some, but I haven't done anything I wanted to show here.  Since I'm off work today, I took the opportunity to make a new outift for Jenna.  I stuck to the red, white, and blue theme, but I didn't want it to scream 4th of July, so I went with non-themed fabrics in shapes and colors that I know she will get a lot of wear out of.


I started with the Classic Picnic Blouse and Shorts pattern by Oliver + S.  I pinned the shorts from Siestas and Sewing awhile ago, so I could refer back to her tutorial for how to add the ruffles.   It worked perfectly!


They are made from some red linen-look fabric I picked up at Joann's yesterday.


For the top, I used the top without the sleeves and added bias trim to finish the underarm edges and for the ties.  I put the monogram on it before constructing the shirt, so the inside doesn't have any scratchy stabilizer.  It is made from very thin denim.


Because the top for this pattern as written is a fairly close-fitting woven shirt without any closures, the armhole area is very roomy.  If I do it again, I'll adjust for that, but I like it a lot anyway, and so does she.


I hope you are having a fabulous day!

Saturday, March 10, 2012

My Best Swimsuit Yet!

I'm actually pretty impressed with myself this morning (LOL!). . .this swimsuit came out exactly as I envisioned it.  I've been pinning swimsuit inspiration over the past few months, and I designed in my head one that combined my favorite parts of each one, a ruffle here, strap placement there, etc.

This fabric is Chez Ami swimsuit lycra, which I absolutely love.  (I have coordinating board short fabric and matching green terry that I plan to make cover up pieces for the girls with as well, but that's a post for a different day.)

It is a tankini, which is my preference for the girls. . . they make bathroom breaks 100 times easier!  I attached the straps near the center back to keep them from slipping off her shoulders.


I used my usual Kwik Sew bikini bottom pattern because it provides the coverage I think they need.  The top started with the Seahorse one-piece pattern from Ottobre.  I tried a new technique for the straps.  I've done bound edges on suits before, but I've never put elastic in the binding, and it has always seemed pretty flimsy.  I used the tutorial here and absolutely love the results.


And even though we haven't brushed hair or washed faces yet this morning, this picture is too cute not to show.  She has informed me that she is going to surf when we go to the beach.


Saturday, March 3, 2012

My First Oliver + S

I've gotten to the point in sewing for my girls that I don't often buy new patterns for them.  I have plenty of patterns and plenty of Ottobre magazines, so I can usually find exactly what I want to make in what I have, and if I can't find exactly what I want, I can find something to start with. 

But when I saw the Classic Picnic Blouse and Shorts pattern from Oliver + S, I had to have it.  I like both pieces and can see myself sewing the shorts and the shirt for the girls. 

I love woven shirts for my girls, but I don't often make them any beyond a basic peasant top.  This top has a similar feel to a peasant top, but a slightly more classic look.  

I decided to sew it up in this brown pin-dot seersucker I ordered from Chez Ami.  I did lengthen it slightly, so she can wear it with capri leggings.  I love the length of the sleeves, and both the sleeves and hem have nice deep hems.

This was my first time sewing with an Oliver + S pattern, and while I didn't need the level of detail she includes in the instructions, I found them extremely clear, and the techniques result in a nicely finished shirt.


I have the shorts cut out to try next, but I will definitely make more of the shirt.  The yoke provides a really nice opportunity to add a monogram.  In fact, I may still go back and add one to this shirt.

Sunday, February 19, 2012

Come on, summer!

We have had some gorgeous spring weather lately (on days when it isn't raining), and there's nothing that gets me in the mood to sew quite like the prospect of sewing cute summertime outfits for my girlies!  A new toy doesn't hurt either.  For my birthday, I got a new serger, and it is SO nice. 

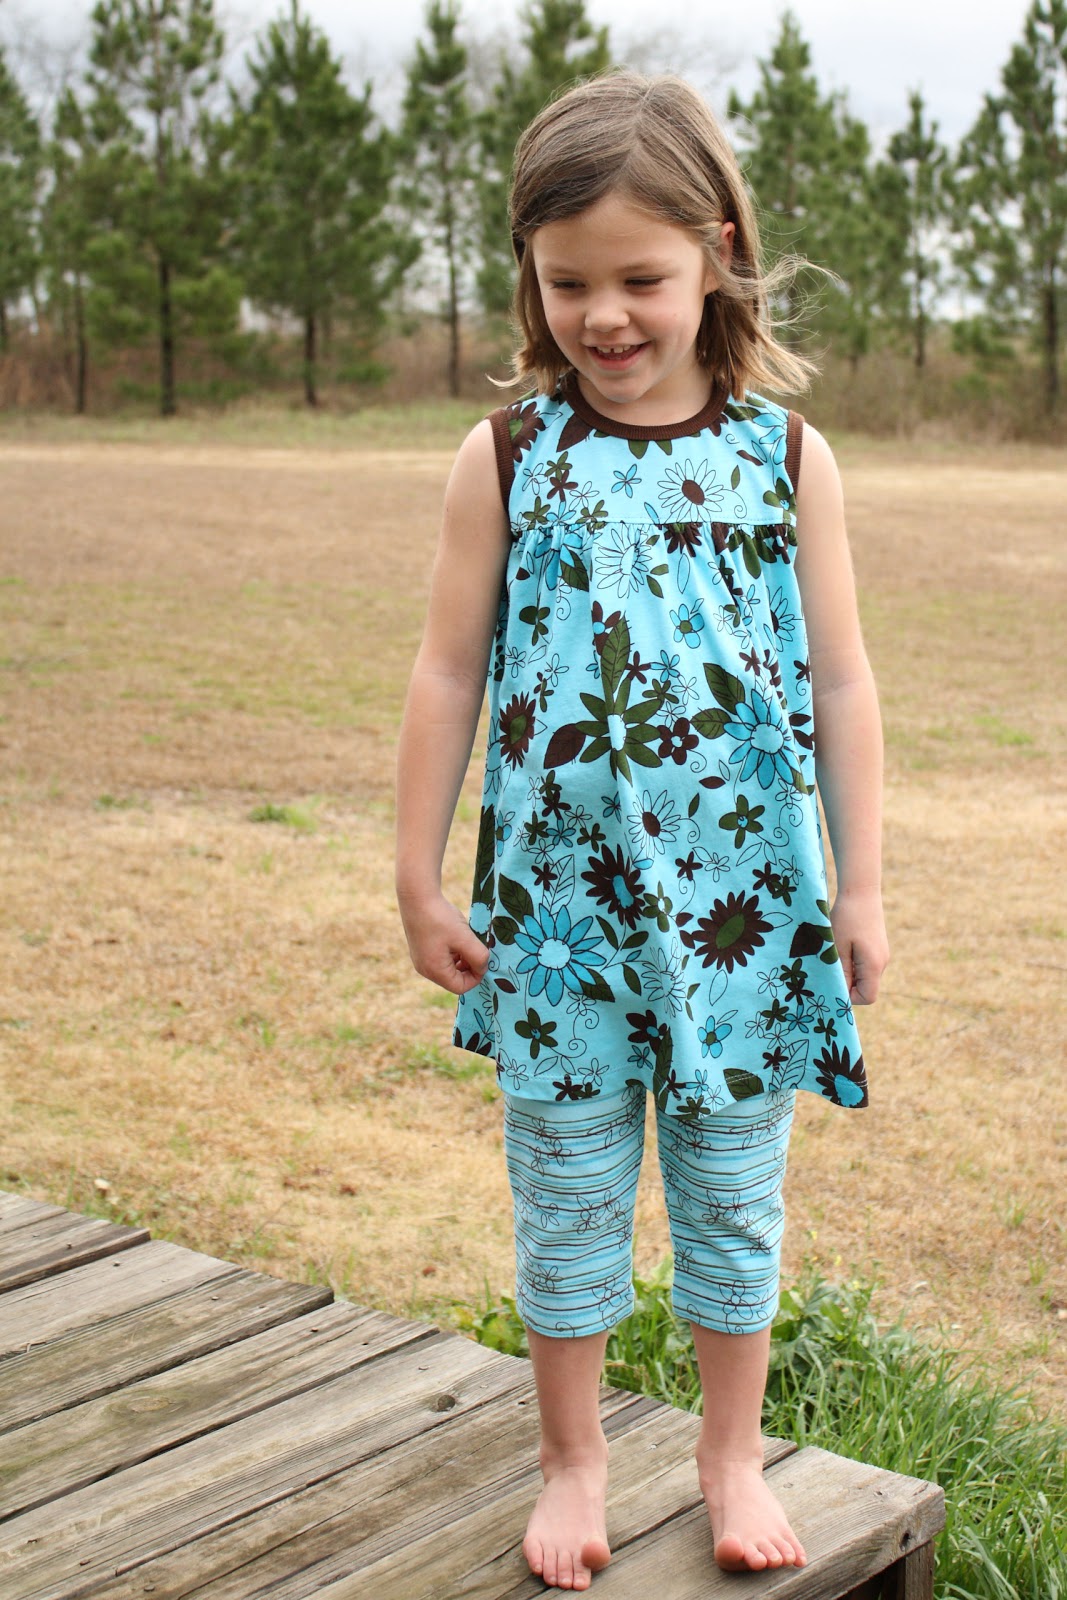
I've decided that Jenna's summer uniform will be capri and bike-length leggings and tunic-length shirts and dresses.  They are cool and comfortable.    Here's the first set.


The leggings are from Otto 4/04 and the shirt is adapted from the basic t-shirt pattern from the same issue.  (I'm sure I could have found a pattern like this one in my pattern stash, but I already had the right size traced for the t-shirt, so I used it.)


Isn't the fabric pretty?


I made her several other pairs of leggings as well. 


Allie asked for a pair out of the denim-looking knit, so I made a pair for her too.  It has been quite a productive weekend for me!

How about you?  Are you thinking about spring and summer yet?

Sunday, February 5, 2012

Allie's Valentine's Shirt

I asked Allie if she wanted a shirt out of the conversation hearts fabric, and at first she said no, but after talking about it a little bit more, she said she doesn't want all of the different fabrics mixed up. . .like Jenna's.  No surprise there, so I pulled out my pile of Ottobre magazines and picked out a few examples of shirts that I thought she might like and that would avoid the previously-mentioned jammie-effect.

She picked out #31 from Otto 4/07 and picked out a deep pink interlock for the binding and belt. 

The belt is two layers of interlock joined with a rolled hem, which is the one stitch that my serger does not do well.  At any rate, I think it turned out really cute, and she loves the lettuce edge. 


Next up, a hooded, short-sleeve tunic for Allie out of red french terry.  We got one in a box from another sewing mama, and it is a really pretty burnt orange, but Allie has declared it "drab."  Good grief!  She does like the style though, so I'm going to make her one in a color she likes better.

Saturday, February 4, 2012

Valentine's Day is Coming!

It is almost Valentine's Day, and both of my girls will, of course, have parties at school.   What is a mama to do, but make sure they have shirts that fit the theme, right? 

I bought some super-cute conversation hearts knit.  It is white with small scattered conversation hearts. . .you know, like the candy.  What I have found out about fabric with a white background and smallish print is that  it often results in clothes that look like pajamas.  In an effort to avoid the dreaded jammy-effect, I asked for pattern suggestions over at sewingmamas, and someone suggested the Farbenmix Antonia.  I don't have this particular pattern, but I do think it is really cute, so I pulled out my Ottobre 4/04 magazine and traced a basic t-shirt pattern to use to copy the Antonia. 

This is for Jenna. 

I top-stitched my seams with the chain-stitch on my coverstitch machine.  I don't know why I forget about this stitch. . .I do really like the results.

I'm trying to perfect a technique for applying neckline binding using my coverstitch binder in the round, and although it isn't perfect, I'm getting close!

and from the back.  Like I said, it isn't perfect yet.


What do you think?  Does it look like a pajama shirt?

I don't think Allie will go for the uber-cute scrappy style, as she, in true-almost-tween-form, is too cool for it, so I need to come up with an idea for her.  Let me know if you have any ideas!

Saturday, January 28, 2012

Wow, it has been awhile, hasn't it?!  I haven't done much sewing lately, but another mama and I agreed to swap sewn outfits for each of our girls.  Her package is on its way to me now, and I just finished the outfits for her girls.  They are 6 and  3 (if I'm remembering correctly), are both skinny-minnies, and are very much into skirts right now.  Tera, their mom, prefers to sew with knits, so I decided to do woven skirts for them.

I decided to do more lagunas since they are so very cute!  She doesn't have an embroidery machine, so I added a cute love-bird embroidery to each t-shirt.  The shirts a basic, long-sleeve shirt pattern from Ottobre 4/2004. 

This one is for her older daughter in shades of red and brown.

And for her younger daughter, a laguna and t-shirt in shades of green, pink, and turquoise!   (The neckline looks a little bit wonky here, but it isn't.  It is just laying funny.)


I love these sets and will be sending them in the mail to her on Monday.  I hope she likes them as much as I do!

Next on the cutting table is my first attempt at paper piecing.  What are you working on?

Sunday, November 27, 2011

A couple of knock-offs. . .

I really like long weekends!  Even though this one was very busy with the holiday and out-of-town family in visiting, I still managed to get a couple of projects done. 

A friend asked if I would make an apron for her little girl for a Christmas present.  She sent me a picture of an apron she liked and asked if I could make something similar.   Here is my version.  I think it turned out super cute!


And, I came across this skirt on Pinterest and thought it would be perfect for Allie for pictures.  I love everything about it. . .the color. . .the ruched waistband. . .the bow. . .the fact that it is made out of simple cotton fabric.  I bought 3 yards of gray quilting cotton and pulled out my Sew What Skirts book to draft the top part of the pattern.  Here it is, modelled by Allie's duct tape dress form from a few years ago, which is a few sizes too small.


I've never used a narrow hem foot since I don't have one, but as I hemmed the skirt and the bow, I found myself wishing for one.


I'm going to do the girls' pictures in gray, teal, and black outfits.  I can't wait!

Monday, November 21, 2011

The finished slipcover!

I finished this last night and love it.  My couch looks so much better!


And a pillow with the leftovers!


Sunday, November 6, 2011

How hard can it be, right?

When it comes to all things crafty or diy, my general philosophy is "How hard can it be?"  If I can't find instructions or a tutorial for how to do it, I tend to think that I can figure it out.  So, I jumped into this project with both feet. . .as usual.

I've been seeing slipcovers made out of painter's canvas drop cloths all over the internet, and I was intrigued by the idea.  Our couch and one of the chairs in our living room was handed down to us by one of Bubba's aunts before we got married.  That was almost 10 years ago, and she had had them for awhile before then, so they have seen better days!  Structurally, they are actually in very good shape (no sagging or anything), but their upholstery has taken a beating over the years. 

So, I decided to go for it.  I bought 2 9'X15' drop cloths and ran them through the washer and dryer before getting started.  I haven't finished yet because I ran out of piping cording, so I will have to do the cushions when I get more.  But here are some pictures of the work in progress (without the cushions)!


My sister came over last night to help.  We pinned the drop cloth directly to the couch, smoothing it out as we went and adding an approximate (because I didn't measure) 5/8" SA to all edges that would be sewn to another piece. 


I took advantage of the existing hems and added piping.  It isn't perfect, but it is good for our first attempt!


With a pleat in the center front of the skirt.  (The looser fitting part that you see here is completely covered by the seat cushions.)


I will post finished pictures once I get the cushions done! 

Thursday, October 13, 2011

Do you Pin?

Nah, I'm not wondering if you use pins when you sew (I rarely do, by the way); I'm asking about my newest online obsession. . .Pinterest!  Oh my goodness.  I'm the person who used to tear pictures out of magazines of things that I liked, and those scraps of paper would end up in piles until I got tired of the piles and dumped them in the trash with the projects never seeing the light of day again. 

But how do you keep up with all of the great things you see online?  You can add them to your favorites, but since that isn't visual, it is hard to get back to the project if it ever crosses your mind again. 

So, what is Pinterest?  A virtual pinboard. . .how great is that?!  Since it is visual, it is easy to remember all of the projects you want to do.  Unfortunately, it is quite addictive as well.

I haven't done much sewing lately, but I do have some jersey sheets in the dryer getting ready for my latest Pinterest-inspired project.  It may take forever, but I promise I will show it to you when I'm finished.

Sunday, October 2, 2011

Strawberry Shortcake

Jenna is going to be Strawberry Shortcake for Halloween. . .the new and updated version, not the version I grew up with. 

Here she is.  I started with a t-shirt pattern and added the contrast skirt.  I digitized the embroidery for the bodice.    (Sorry, the pictures are just a bit out of focus.  I have no idea why--obviously operator-error.)


The hat was a bit of a conundrum.  I couldn't figure out how to do the brim of the hat without it flopping or covering her eyes.  After making the top part of the hat, which is basically a circle gathered to a ribbing band, I realized that she could wear a visor under the hat, and only the brim would show.  The visor started out white, so I painted it green.

I'm not completely done with the hat.  It is a bit floppy.  I'm going to add some stuffing and the green leaf that goes on top, but I think it is pretty darn cute already!

Sunday, September 25, 2011

Let's talk zipper flies. . .in pictures!

Zipper flies are scary, right?  Well, not so much if you ignore the instructions that come with most patterns and use Sandra Betzina's method.   You can watch a video here and another one slightly modified to include the fly shield there.  In all of my googling though, I have yet to find a good still picture tutorial showing how to do this method.  My method is a combination of the two, and I took pictures as I went, so I could share with you.

Here we go.  You have your leg inseams sewn and top-stitched on both legs, and your crotch seam allowances finished (serged or zig-zagged).  Sew the crotch seam from back to front with a normal stitch length, stopping at the bottom of the fly panel (where the bottom of the zipper goes).  Backstitch there.  Lengthen your stitch length to a basting stitch and finish sewing along the lines marked on the pattern to the waist edge.  Like so.  If you can't see it, the red pin marks where I lengthened my stitch. 


Now, press open along the stitching line.  (I've said it before, and I'll say it again. . .it is impossible to press too often, so when in doubt, press!)


Then, attach your zipper to your prepared fly shield with a row of stitches.  The stitching line doesn't need to be close to the zipper teeth.  (On a side note, I suggest you always use a zipper longer than what you need.)


Next, place the zipper (with fly shield attached) face down on your pants front with the edge of zipper tape lined up along the basted seam line.  Pin it in place, pinning only through the fly shield and not through the front of the pants.


Flip the front of the pants out of the way and stitch it in place, stitching closer to the zipper teeth this time.

It will look like this. 

Now to attach the other side of the zipper tape to the other fly extension.  Flip your zipper, fly shield and fly extension combo to the other side, letting it fall where it wants to.  Pin the other side of your zipper tape only to the fly extension.  Your zipper will be face up. 

Stitch it in place close to the zipper teeth.

Now, you are basically done!  Flip everything where it is supposed to be. . .it will be obvious. . .and top-stitch.  You may want to do bar tacks as well.

Using your seam ripper, remove the basting stitches that hold the fly shut.


You're done!  But this part is key.  When you sew your waistband on, make sure your zipper is down, and only after sewing the waistband on, cut off the top tails of your zipper. 

Voila!